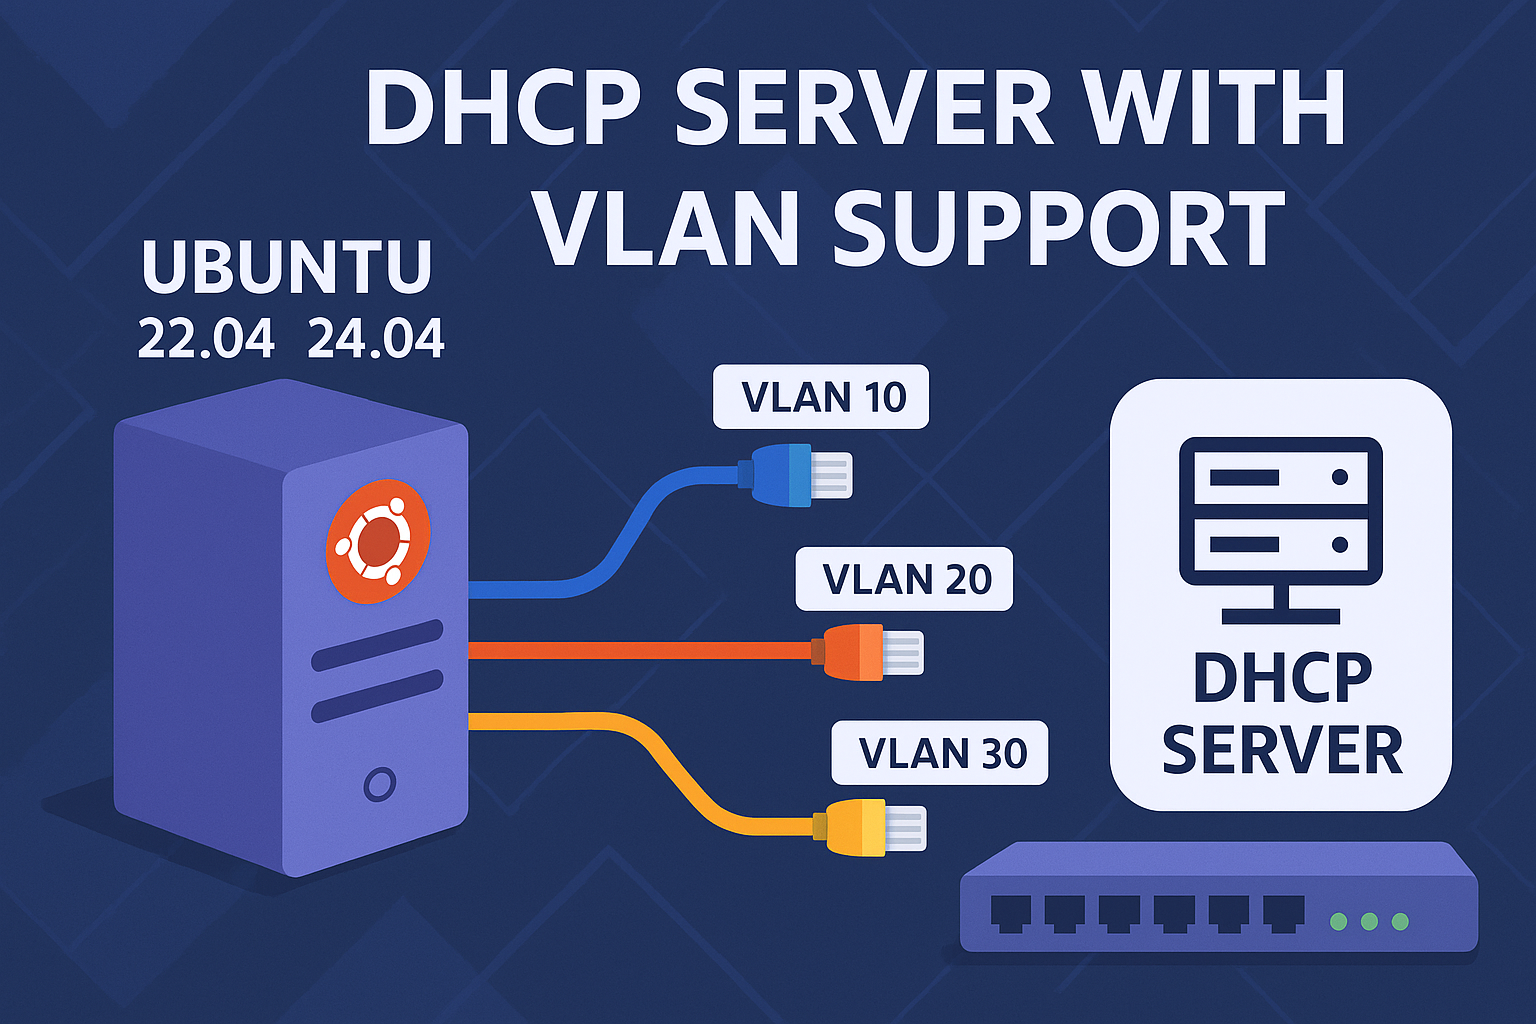
This tutorial will walk you through setting up an ISC DHCP server on Ubuntu 22.04 or 24.04 with support for multiple subnets and VLAN interfaces. You will learn how to:
- Install necessary packages
- Identify and configure network interfaces, including VLANs
- Configure Netplan for IP addressing and VLANs
- Configure ISC DHCP server with multiple scopes
- Enable and start the DHCP service
At the end, there is an interactive script that automates all these steps.
Prerequisites
- Ubuntu 22.04 or 24.04 system with root or sudo access
- Basic familiarity with Linux command line
- Network interfaces available (physical or virtual)
Step 1: Install required packages
Update your system and install the DHCP server and VLAN tools:
1
2
sudo apt update
sudo apt install -y isc-dhcp-server vlan
Step 2: Identify network interfaces
Check available interfaces (excluding loopback):
1
ip -o link show | awk -F': ' '{print $2}' | grep -v lo
Example output might be:
1
2
3
eth0
eth1
eth2
Step 3: Plan your subnets
Decide how many subnets you want to configure. For each subnet, decide:
- Whether it will be on a physical interface or a VLAN
- IP address of the server interface
- Subnet mask
- Gateway IP
- DHCP IP range start and end
- CIDR prefix length
Step 4: Configure VLAN interfaces (optional)
If you want VLAN support:
- Choose a physical interface (e.g.,
eth0) as the VLAN parent. - Select a VLAN ID (e.g.,
10). - The VLAN interface name will be
<parent>.<vlan-id>, e.g.,eth0.10.
Step 5: Configure Netplan
Netplan configuration files are located in /etc/netplan/. To configure multiple interfaces and VLANs, create a file, e.g., /etc/netplan/01-multiscope-dhcp.yaml with content:
1
2
3
4
5
6
7
8
9
10
11
12
13
14
15
16
network:
  version: 2
  ethernets:
    eth0:
      addresses: [192.168.1.1/24]
      gateway4: 192.168.1.254
      nameservers:
        addresses: [8.8.8.8, 8.8.4.4]
  vlans:
    eth0.10:
      id: 10
      link: eth0
      addresses: [192.168.10.1/24]
      gateway4: 192.168.10.254
      nameservers:
        addresses: [8.8.8.8, 8.8.4.4]
Adjust addresses and interfaces according to your plan.
Apply the configuration:
1
sudo netplan apply
Step 6: Configure ISC DHCP server
The main DHCP server configuration is in /etc/dhcp/dhcpd.conf.
Add subnet definitions like this for each subnet:
1
2
3
4
5
6
7
8
9
10
11
12
13
14
15
16
17
default-lease-time 600;
max-lease-time 7200;
authoritative;

subnet 192.168.1.0 netmask 255.255.255.0 {
  range 192.168.1.100 192.168.1.200;
  option routers 192.168.1.254;
  option subnet-mask 255.255.255.0;
  option domain-name-servers 8.8.8.8, 8.8.4.4;
}

subnet 192.168.10.0 netmask 255.255.255.0 {
  range 192.168.10.100 192.168.10.200;
  option routers 192.168.10.254;
  option subnet-mask 255.255.255.0;
  option domain-name-servers 8.8.8.8, 8.8.4.4;
}
Step 7: Configure DHCP server to listen on interfaces
Edit /etc/default/isc-dhcp-server and set the INTERFACESv4 variable to include all your interfaces (physical and VLAN), e.g.:
1
INTERFACESv4="eth0 eth0.10"
Step 8: Start and enable DHCP server
Restart the DHCP server to apply the configuration:
1
2
sudo systemctl restart isc-dhcp-server
sudo systemctl enable isc-dhcp-server
Check status with:
1
sudo systemctl status isc-dhcp-server
Summary
You have now set up a DHCP server on Ubuntu that supports multiple subnets including VLAN interfaces. This setup can be used in home labs, testing environments, or production with appropriate adjustments.
Optional: Automated Interactive Script
To simplify this whole process, you can use the following interactive Bash script. It will:
- Install needed packages
- Detect interfaces
- Let you configure multiple subnets (with or without VLANs)
- Automatically generate Netplan and DHCP configs
- Enable and start the DHCP server
Download and run:
1
2
chmod +x setup-multiscope-dhcp-vlan.sh
sudo ./setup-multiscope-dhcp-vlan.sh
Script source:
1
2
3
4
5
6
7
8
9
10
11
12
13
14
15
16
17
18
19
20
21
22
23
24
25
26
27
28
29
30
31
32
33
34
35
36
37
38
39
40
41
42
43
44
45
46
47
48
49
50
51
52
53
54
55
56
57
58
59
60
61
62
63
64
65
66
67
68
69
70
71
72
73
74
75
76
77
78
79
80
81
82
83
84
85
86
87
88
89
90
91
92
93
94
95
96
97
98
99
100
101
102
103
104
105
106
107
108
109
110
111
112
113
114
115
#!/bin/bash

set -e

echo "=== Interactive DHCP Installer (with VLAN support) for Ubuntu 22.04 / 24.04 ==="

if [[ $EUID -ne 0 ]]; then
  echo "Please run this script as root (e.g., sudo $0)"
  exit 1
fi

apt update && apt install -y isc-dhcp-server vlan

echo ""
echo "Available network interfaces:"
interfaces=$(ip -o link show | awk -F': ' '{print $2}' | grep -v lo)
echo "$interfaces"
echo ""

read -p "How many subnets do you want to configure? (e.g., 2): " SUBNET_COUNT

NETPLAN_CFG="network:\n  version: 2\n  ethernets:\n"
VLAN_CFG=""
DHCP_CONF="default-lease-time 600;\nmax-lease-time 7200;\nauthoritative;\n"
IFACE_LIST=()

for ((i=1; i<=SUBNET_COUNT; i++)); do
  echo ""
  echo "=== Configuration for subnet $i ==="

  echo "Should this subnet use a VLAN interface? (y/n)"
  read -n1 USE_VLAN
  echo ""

  if [[ "$USE_VLAN" == "y" || "$USE_VLAN" == "Y" ]]; then
    echo "Select the parent (physical) interface for the VLAN:"
    select PARENT_IFACE in $interfaces; do
      [[ -n "$PARENT_IFACE" ]] && break
    done

    read -p "Enter VLAN ID (e.g., 10): " VLAN_ID
    VLAN_IFACE="${PARENT_IFACE}.${VLAN_ID}"
    IFACE_LIST+=("${VLAN_IFACE}")

    VLAN_CFG+="  vlans:\n"
    VLAN_CFG+="    ${VLAN_IFACE}:\n"
    VLAN_CFG+="      id: ${VLAN_ID}\n"
    VLAN_CFG+="      link: ${PARENT_IFACE}\n"

    read -p "Enter the server IP address (e.g., 192.168.${VLAN_ID}.1): " SERVER_IP
    read -p "Enter the subnet mask (e.g., 255.255.255.0): " NETMASK
    read -p "Enter the default gateway (e.g., 192.168.${VLAN_ID}.254): " GATEWAY
    read -p "Enter the DHCP range start (e.g., 192.168.${VLAN_ID}.100): " DHCP_START
    read -p "Enter the DHCP range end (e.g., 192.168.${VLAN_ID}.200): " DHCP_END
    read -p "Enter CIDR prefix length (e.g., 24): " CIDR

    VLAN_CFG+="      addresses: [${SERVER_IP}/${CIDR}]\n"
    VLAN_CFG+="      gateway4: ${GATEWAY}\n"
    VLAN_CFG+="      nameservers:\n"
    VLAN_CFG+="        addresses: [8.8.8.8,8.8.4.4]\n"

  else
    echo "Select a physical interface for this subnet:"
    select IFACE in $interfaces; do
      [[ -n "$IFACE" ]] && break
    done

    IFACE_LIST+=("$IFACE")

    read -p "Enter the server IP address (e.g., 192.168.1.1): " SERVER_IP
    read -p "Enter the subnet mask (e.g., 255.255.255.0): " NETMASK
    read -p "Enter the default gateway (e.g., 192.168.1.254): " GATEWAY
    read -p "Enter the DHCP range start (e.g., 192.168.1.100): " DHCP_START
    read -p "Enter the DHCP range end (e.g., 192.168.1.200): " DHCP_END
    read -p "Enter CIDR prefix length (e.g., 24): " CIDR

    NETPLAN_CFG+="    ${IFACE}:\n"
    NETPLAN_CFG+="      addresses: [${SERVER_IP}/${CIDR}]\n"
    NETPLAN_CFG+="      gateway4: ${GATEWAY}\n"
    NETPLAN_CFG+="      nameservers:\n"
    NETPLAN_CFG+="        addresses: [8.8.8.8,8.8.4.4]\n"
  fi

  SUBNET_BASE=$(echo "$SERVER_IP" | awk -F'.' '{print $1"."$2"."$3".0"}')
  DHCP_CONF+="\nsubnet ${SUBNET_BASE} netmask ${NETMASK} {\n"
  DHCP_CONF+="  range ${DHCP_START} ${DHCP_END};\n"
  DHCP_CONF+="  option routers ${GATEWAY};\n"
  DHCP_CONF+="  option subnet-mask ${NETMASK};\n"
  DHCP_CONF+="  option domain-name-servers 8.8.8.8, 8.8.4.4;\n"
  DHCP_CONF+="}\n"
done

echo ""
echo "=== Generating configuration files ==="

# Finalize netplan config
NETPLAN_ALL="$NETPLAN_CFG"
if [[ -n "$VLAN_CFG" ]]; then
  NETPLAN_ALL+="\n$VLAN_CFG"
fi

echo -e "$NETPLAN_ALL" > /etc/netplan/01-multiscope-dhcp.yaml
echo "Applying netplan..."
netplan apply

# Configure DHCP server interfaces
echo "INTERFACESv4=\"${IFACE_LIST[*]}\"" > /etc/default/isc-dhcp-server
echo -e "$DHCP_CONF" > /etc/dhcp/dhcpd.conf

systemctl restart isc-dhcp-server
systemctl enable isc-dhcp-server

echo ""
echo "✅ DHCP server is now running on interfaces: ${IFACE_LIST[*]}"
If you have any questions or want help extending this setup, feel free to reach out!